Tutorial
Click on thumbnailed images to enlarge
This is my first tut. so it may not be super helpful, but I think it will do. All you need is PSP 5 or higher.
You will need an image that is already "stamped", like the one below. Some images you can stamp by clicking Colors >> Grey Scale, then click Colors >> Adjust>> Brightness/Contrast and adjust until it looks good. This is the image I got using Microsoft Digital Image Suite 2006 Editor and using the Stamp: Woodcut Rough and editing until I got this:
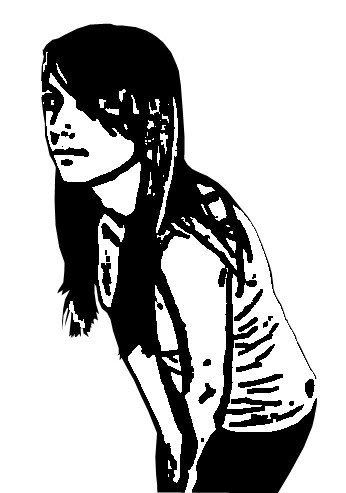
You may use it for practice!
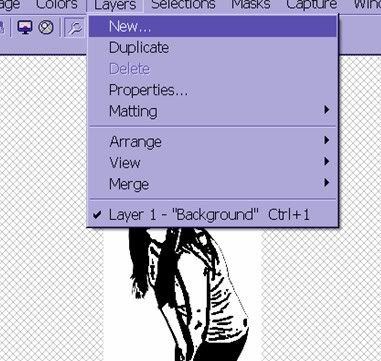
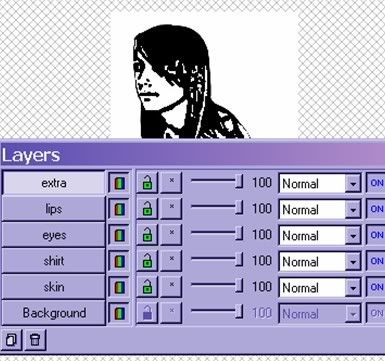
Once you have the stamped image open it in PSP. Then you create many different layers, and depending on the image, you will need more or less. To create a layer go to Layers >> New then name it according to the part. I made 5 layers: Skin, shirt, eyes, lips, and extra. I didn't want anymore, because nothing was left that I wanted colored.
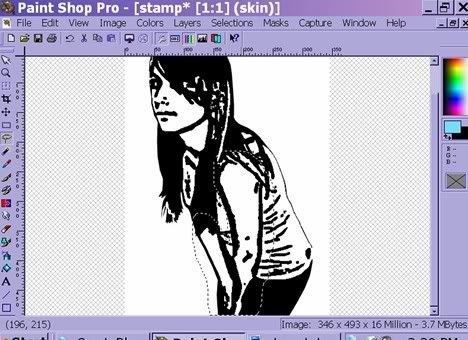
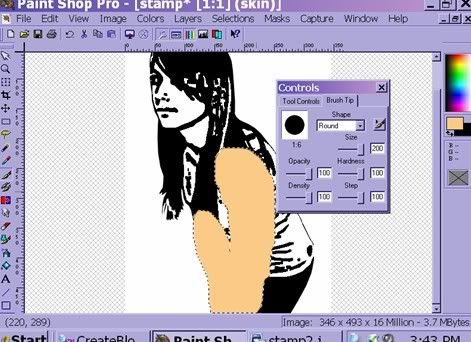
Now that you have all of your layers, go to your first layer (in my case, skin). Here is where the coloring starts. Now, depending on the name of layer, select with the freehand tool the sections to be colored. It doesn't matter if it's not perfect! Really!
Now fill in this section completely with the color of your choice. It will be blobby, but that's okay!!
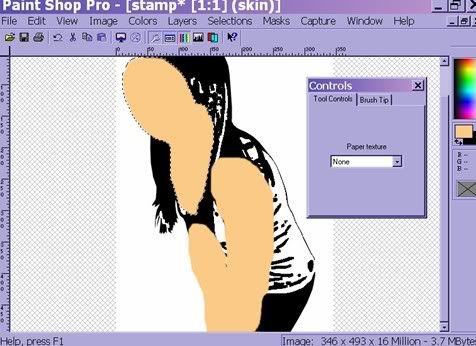
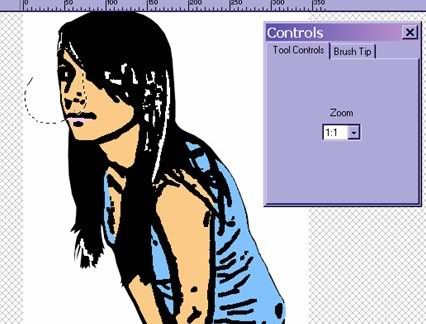
Now, do that again until everywhere you need is colored. (all the skin, but only skin!! Or whatever layer your on!!) Like this:
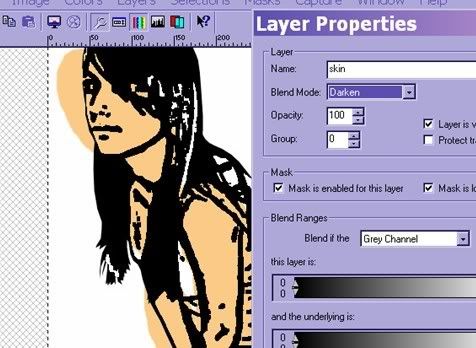
Now that you have the enitire layer colored, go to Layers >> Properties and set it to Darken. This will allow you to see the edges.
Now select the eraser tool.
Then, carefully erase the extra blob. Don't worry about the black lines, they wont be erased! If you mess up, just go back with the paintbrush at size 1 and touch-up! Also be sure to erase wheere other colors withh be (lips, eyes, shirt) You should have something like this:
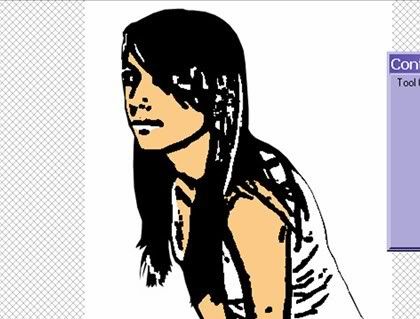
Continue the same method wil all layers. Don't worry when erasing! Nothing but the color of the layer your on will be erased. Eventually you should have this:
Now you have your image, so merge the layers. You may also add a background or anything else you want, like text. Be creative!
I hope this helped!
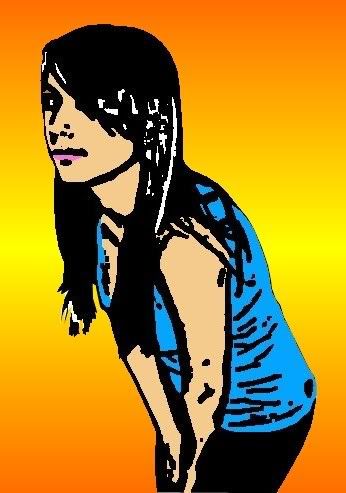
Finished product.
You may use my stamp image for practice before you start your own image!
You will need an image that is already "stamped", like the one below. Some images you can stamp by clicking Colors >> Grey Scale, then click Colors >> Adjust>> Brightness/Contrast and adjust until it looks good. This is the image I got using Microsoft Digital Image Suite 2006 Editor and using the Stamp: Woodcut Rough and editing until I got this:
You may use it for practice!
Once you have the stamped image open it in PSP. Then you create many different layers, and depending on the image, you will need more or less. To create a layer go to Layers >> New then name it according to the part. I made 5 layers: Skin, shirt, eyes, lips, and extra. I didn't want anymore, because nothing was left that I wanted colored.
Now that you have all of your layers, go to your first layer (in my case, skin). Here is where the coloring starts. Now, depending on the name of layer, select with the freehand tool
the sections to be colored. It doesn't matter if it's not perfect! Really!
Now fill in this section completely with the color of your choice. It will be blobby, but that's okay!!
Now, do that again until everywhere you need is colored. (all the skin, but only skin!! Or whatever layer your on!!) Like this:
Now that you have the enitire layer colored, go to Layers >> Properties and set it to Darken. This will allow you to see the edges.
Now select the eraser tool.
Then, carefully erase the extra blob. Don't worry about the black lines, they wont be erased! If you mess up, just go back with the paintbrush at size 1 and touch-up! Also be sure to erase wheere other colors withh be (lips, eyes, shirt) You should have something like this:
Continue the same method wil all layers. Don't worry when erasing! Nothing but the color of the layer your on will be erased. Eventually you should have this:
Now you have your image, so merge the layers. You may also add a background or anything else you want, like text. Be creative!
I hope this helped!
Finished product.
You may use my stamp image for practice before you start your own image!
Tutorial Comments
Showing latest 1 of 1 comments
